


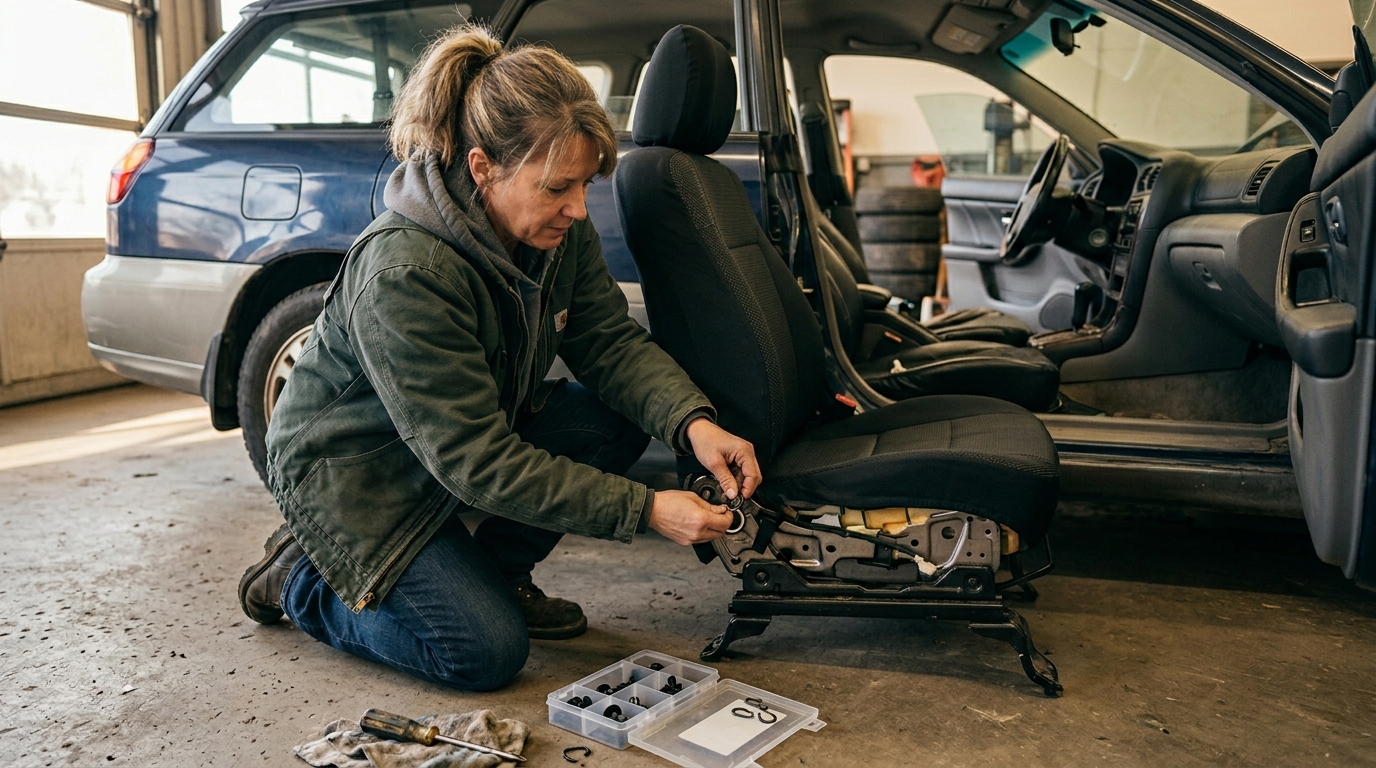
Seat cover installation accessories are the small parts that keep a cover tight: hooks grab the seat frame, chucks lock into the seat gap, straps pull panels into position, and clips hold edges together. If your cover feels loose after 10 minutes of driving, one of those parts is usually missing, routed wrong, or attached to the wrong place.
Seat Cover Installation Accessories Quick Map
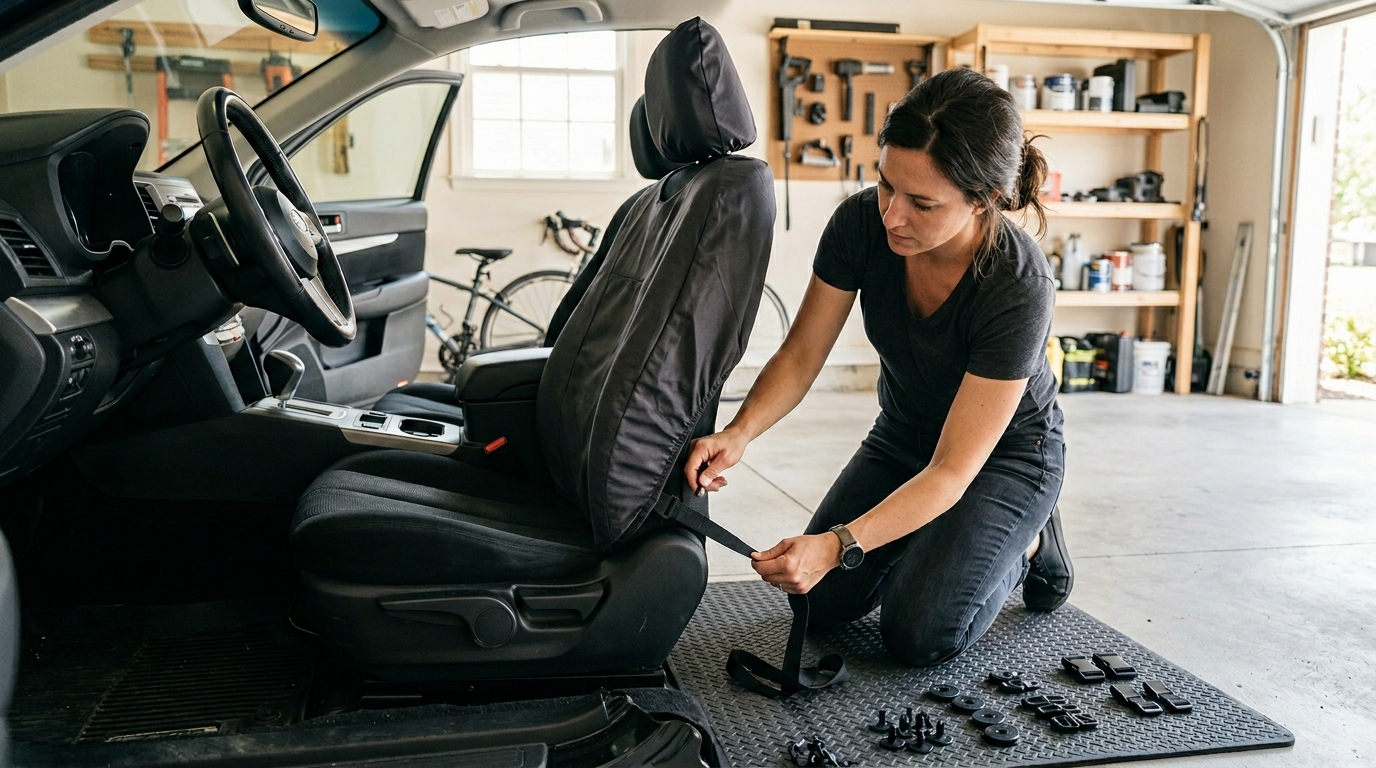
Sort hooks, chucks, straps, and clips before the cover touches the seat.
Slide the cover on loosely.
Push chucks into the seat gap.
Route straps under the cushion, away from wires and rails.
Hook only to metal seat-frame points, then tighten evenly.
Most seat cover installation accessories do one of two jobs: they anchor fabric to the seat, or they control tension. The tricky part is that the underside of a 2024 Toyota RAV4 front seat doesn't look like the underside of a 2018 Ford F-150, and a Tesla Model Y has tighter plastic trim around the cushion than a Jeep Wrangler. Same cover type. Different attachment paths.
Before you reach under the seat, check the safety labels. The National Highway Traffic Safety Administration explains that side-impact air bags may deploy from seat-mounted locations, and Toyota's 2023 Corolla owner's manual identifies front side air bags in the front seat area. If your seat has an SRS AIRBAG tag on the outer backrest, read our guide to side airbag compatible seat covers before tightening anything around that side panel.
| Accessory | Where it attaches | What it fixes | Common mistake |
|---|---|---|---|
| Metal or plastic hooks | Seat frame, anchor holes, crossbars | Loose cushion edges | Hooking to wiring or seat tracks |
| Chucks | Gap between seat back and bottom cushion | Sliding center panel | Leaving them on top of the cushion |
| Elastic straps | Under cushion or behind backrest | Wrinkles and side slack | Crossing the wrong straps |
| Clips | Cover tabs, skirt edges, rear flaps | Flapping fabric | Using weak clips on high-tension points |
The best sequence is loose fit first, tension last. Pulling one strap as tight as possible at the beginning feels productive, but it drags the whole cover off-center. On a bucket seat, that usually shows up as one side cushion sitting high and the other side sagging near the recline lever.
Seat Cover Installation Accessories: Hooks and Under-Seat Frames
Hooks are the most misunderstood part in a seat cover kit because they look simple. A hook is just a bent piece of metal or molded plastic, but it needs a stable anchor: a seat-frame hole, a round cross tube, or a bracket that doesn't move when the seat slides. It should never grab a yellow airbag connector, a seat occupancy sensor wire, heated-seat wiring, or the moving rail teeth.
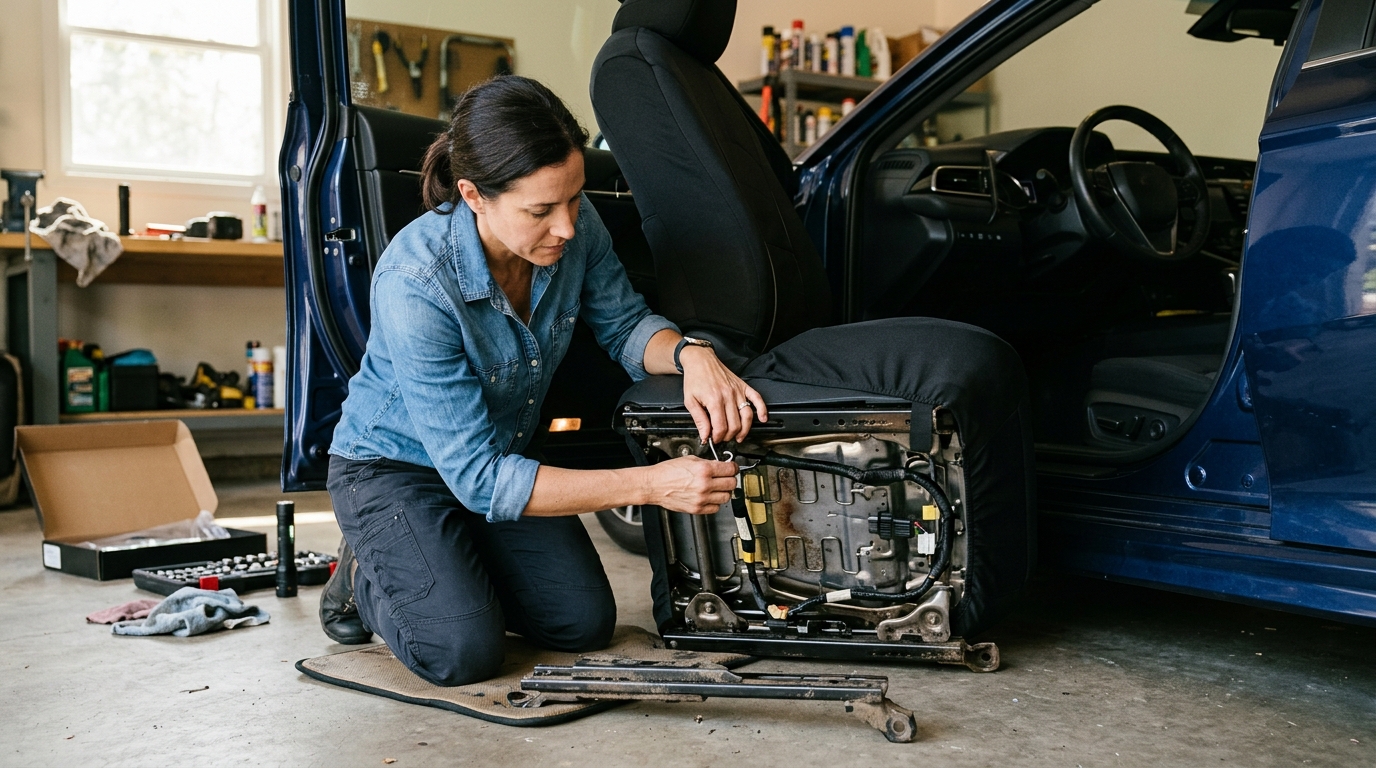
Get low and look first. Move the seat all the way back, then all the way forward, and watch which parts travel with the seat. On a 2021 Honda CR-V or 2022 Subaru Outback, you'll often see exposed metal frame sections under the cushion. On newer power seats, plastic shrouds can hide the frame, so the right hook point may be closer to the rear underside than you expect.
Use this quick hook test:
Pull the hook by hand with the same force you'd use to tighten the cover.
Slide the seat forward and back.
Check that the hook doesn't touch a rail, wire, yellow connector, or seat belt buckle cable.
Sit down, shift your weight twice, and recheck tension.
A good hook point stays quiet. If you hear a click under the seat after you move the seat track, the hook may be hitting the rail. That tiny click matters. It means the hook is riding on a moving part, and the cover will loosen every time you adjust the seat.
Metal S-hooks work better than light plastic hooks under a high, open truck seat like a Ford F-150, Chevrolet Silverado 1500, or Toyota Tacoma. Plastic hooks are fine for lighter tension points, especially rear flaps and side skirts. The tradeoff is scratch risk: metal hooks hold harder, but they can scrape painted seat brackets if you twist them while pulling.
Coverado kits are built for home installation, so the hardware is meant to be hand-tightened. No pliers. No drilling. No zip ties around seat wiring. If you need tools to force a hook into place, you're probably using the wrong anchor.
Seat Cover Installation Accessories: Chucks and Seat Gaps
A chuck is a plastic anchor attached to a strap or elastic band. You push it through the gap where the backrest meets the seat cushion, then it turns sideways behind the cushion and resists being pulled back out. People also call these tuck anchors, tension discs, or plastic plugs. Same job: stop the middle of the cover from sliding forward.
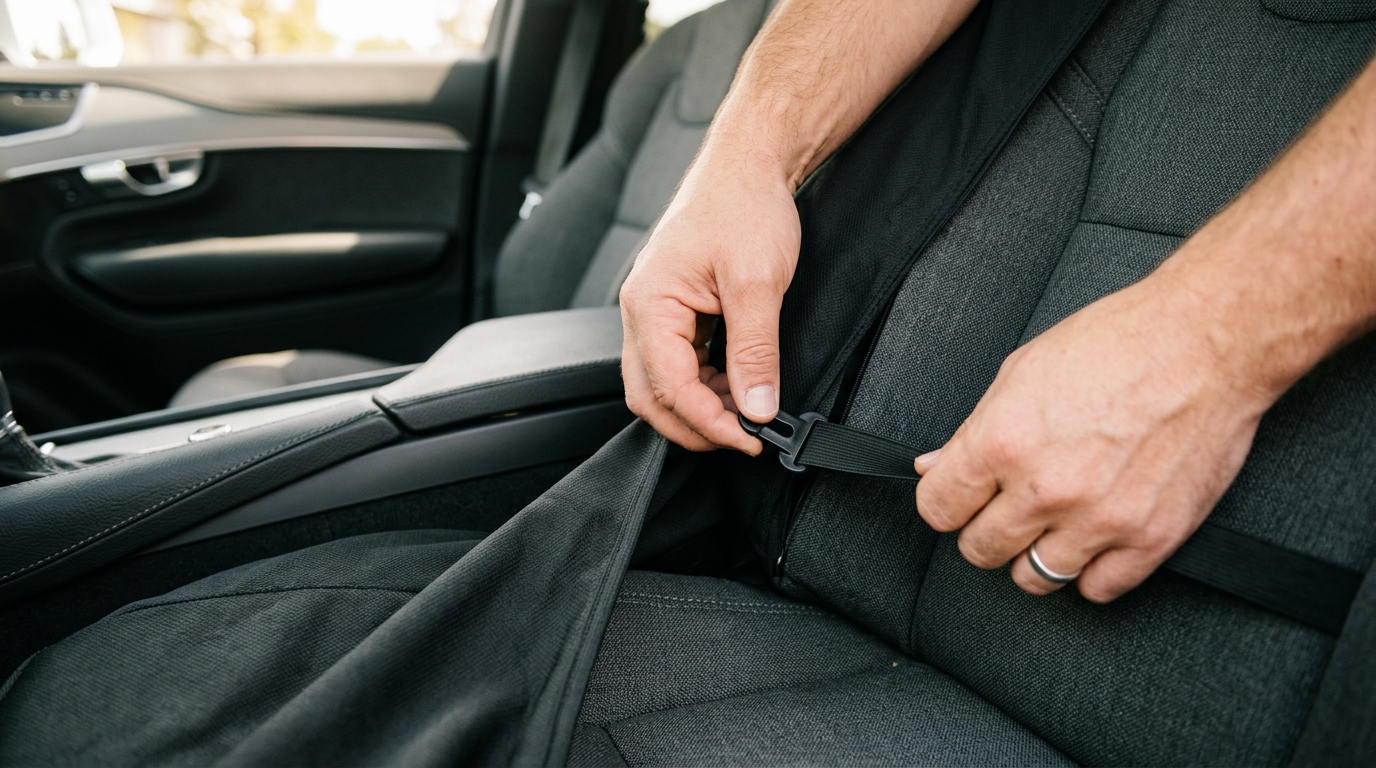
The chuck belongs deep in the crease. Not perched on top of it.
On a front bucket seat, the chuck usually goes through the crack between the seat back and bottom cushion. On a rear bench, it may pass between the backrest and lower bench cushion, but folding benches vary a lot. A 2020 Toyota Camry rear bench gives you a fairly clear gap. A 2023 Jeep Grand Cherokee rear seat may have tighter foam and child-seat anchor trim in the way. Don't force the chuck through plastic latch covers.
Chuck check: After you push the chuck into the gap, tug the front panel toward the steering wheel. The cover should resist without popping free. If the chuck comes back out, rotate it 90 degrees behind the cushion and try again.
The biggest chuck mistake is treating it like a hook. A chuck doesn't need to grab metal. It needs to sit behind foam or upholstery tension. If you fish around under the seat trying to hook a chuck to a bracket, you'll waste time and may pull the cover into a strange angle.
Lost a chuck? Don't replace it with a coin, washer, or random plastic cap. A proper chuck has smooth edges and enough width to hold pressure without cutting the strap. A washer can saw through elastic after a few weeks, especially in a hot car where materials soften and stretch.
This advice doesn't apply to custom upholstery installs where the seat skin is removed from the frame. Those jobs use hog rings, listing wires, and factory-style attachment points. Consumer seat covers sit over the original seat upholstery, so the chuck is there to hold position without taking the seat apart.
Straps, buckles, and tension
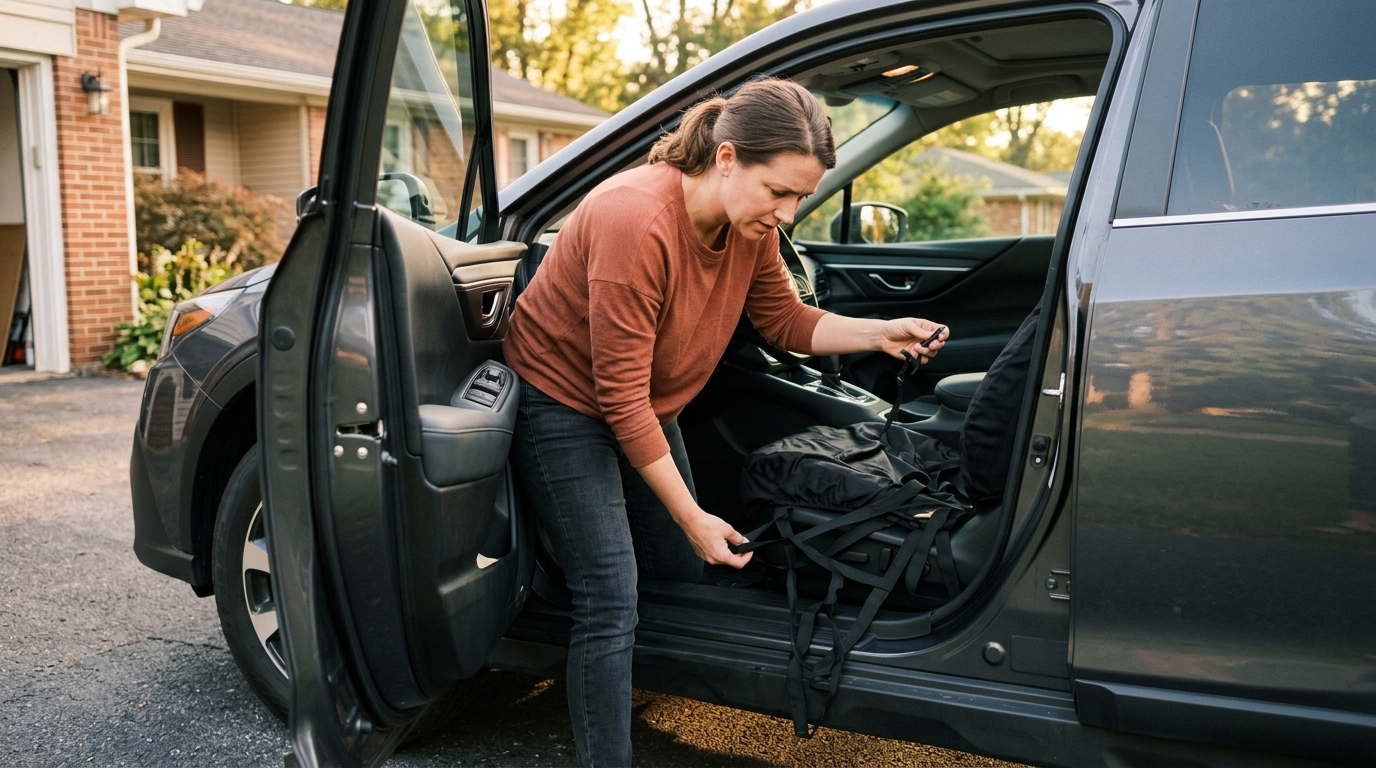
Straps do the real fit work. Hooks and chucks anchor the cover, but straps decide whether the front cushion looks flat or baggy. Most covers use elastic straps, adjustable webbing, side-release buckles, or a mix. The best strap path is short, straight, and clear of moving parts.
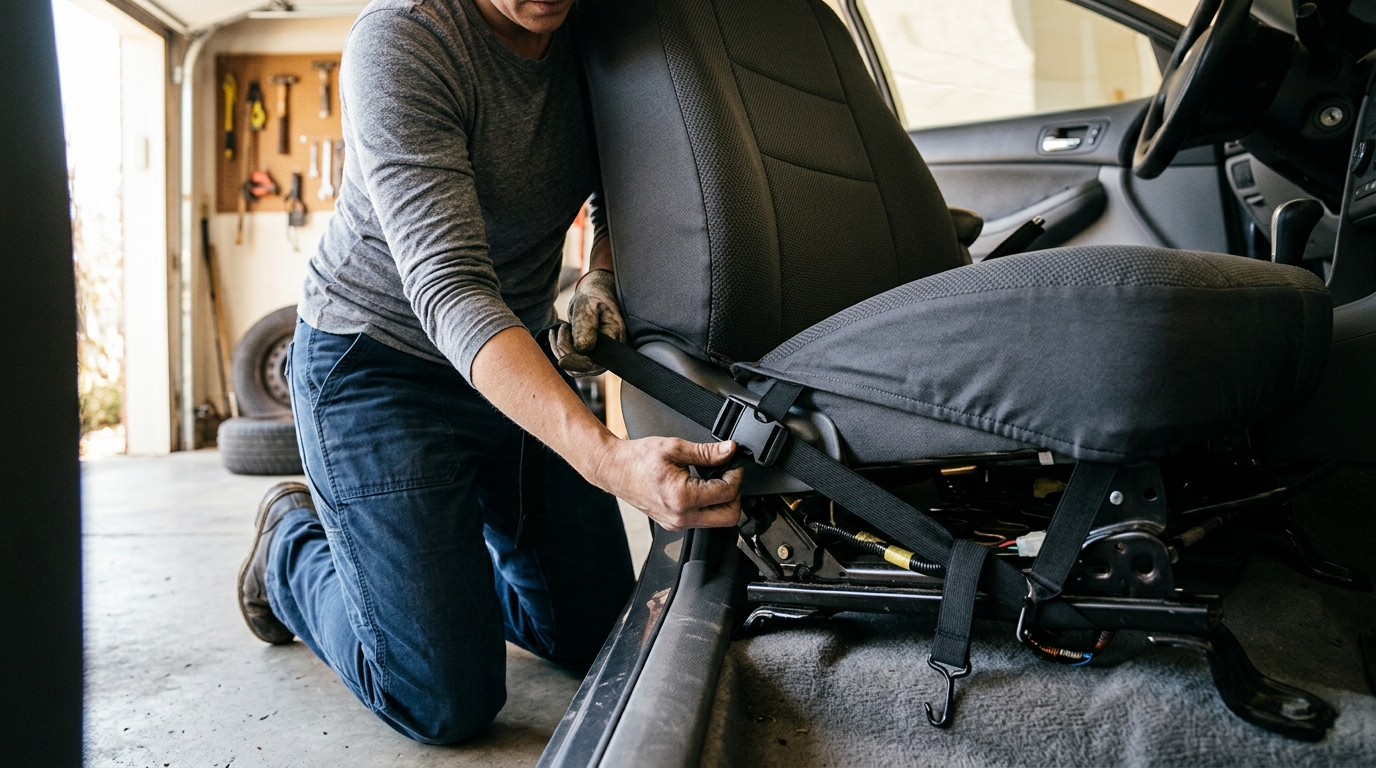
Start with light tension. Put the cover over the headrest posts and shoulders, align the side seams, tuck the center panel, and only then tighten the lower straps. Coverado customers report installation in under 30 minutes most often when they sort the hardware first and tension both sides evenly instead of pulling one side tight and fighting the other side later.
| Seat area | Best strap direction | What to avoid |
|---|---|---|
| Front cushion | Left-to-right under cushion | Seat rails, motors, yellow plugs |
| Backrest rear flap | Down and under rear cushion edge | Side airbag seam area |
| Rear bench bottom | Front edge to rear gap | Child-seat lower anchors |
| Headrest cover | Snug around posts | Blocking headrest height locks |
A strap should feel snug, not stretched to its limit. Elastic that is maxed out on day one has nowhere to go after the foam compresses. That's why overtightened covers often look worse after a week: the elastic relaxes, the cover shifts, and the side panel starts creeping toward the door.
Thicker seat cover materials need a little more patience because they don't settle instantly around raised side supports. Leatherette, padded foam, and quilted panels usually look best after you sit in the seat, warm the cabin, and retighten lightly. Cloth covers tend to conform faster, but they can wrinkle if the straps aren't symmetrical.
Watch the buckle orientation. A twisted strap can still click shut, but it pulls at an angle. You see it later as a diagonal wrinkle across the cushion. If one front corner is tight and the opposite rear corner is loose, don't add more force. Undo the buckle, flatten the strap, and run it again.
Clips, rings, and repairs
Clips are small tension helpers, not universal fixes. They hold skirt edges together, connect elastic loops, or secure light rear flaps where a hook would be too aggressive. A plastic clip works well on a low-stress side panel. A metal ring or stronger clip is better where two elastic loops meet under a cushion.
There are limits. A clip shouldn't pinch an airbag seam, pierce upholstery, or clamp onto a seat belt webbing path. The National Highway Traffic Safety Administration said in a 2011 interpretation letter that a manufacturer, distributor, dealer, or repair business may not install a seat cover if it knows the cover would make a compliant air bag inoperative. That's legal language, but the practical point is simple: don't attach hardware where a safety system needs to move.
If hardware went missing, replace the same type of part whenever possible.
| Missing part | Better replacement | Avoid |
|---|---|---|
| S-hook | Upholstery S-hook of similar size | Paper clips |
| Plastic chuck | Seat cover tuck anchor | Coins or washers |
| Elastic loop clip | Small upholstery clip | Office binder clips |
| Buckle half | Matching buckle size | Knotted webbing |
Temporary repairs are fine for a short drive, but they shouldn't become permanent. A zip tie can hold a loose side skirt for a day. It shouldn't live around power-seat motor wiring for six months. Heat, vibration, and seat movement all work against improvised hardware.
One more thing: don't cut extra holes unless the instructions call for it. A clean-looking shortcut can weaken the cover or put tension across the wrong panel. For seats with separate headrests, remove the headrest, fit the backrest cover, then reinstall the headrest through the designed openings. For integrated headrests, use the cover style made for that seat shape.
Loose fit mistakes
A loose fit usually starts before the first hook is attached. You set the cover down, see four straps, guess which ones cross under the cushion, and tighten the easiest pair. Then you drive to lunch. When you get back in, the cover has slid forward and the left side panel has a wrinkle that wasn't there in the driveway.
Use this mistake map when the fit feels wrong:
| Symptom | Likely cause | Fix |
|---|---|---|
| Cushion slides forward | Chucks not seated | Push chucks deeper and rotate sideways |
| One side sits higher | Uneven strap tension | Loosen both sides and retighten evenly |
| Backrest cover twists | Headrest posts misaligned | Reset top first, then lower flap |
| Side panel pulls outward | Hook attached too far outboard | Move hook to center frame point |
| Buckle hits under seat | Strap routed across rail | Reroute behind moving track |
The wrong anchor can make a quality cover look cheap. Hooking a strap to the outer plastic trim on a Nissan Rogue or Hyundai Tucson may hold while the car is parked, but plastic trim flexes when you sit down. The cover moves with it. Metal frame points hold their position.
Don't skip the second-day retighten. Foam compresses, fabric relaxes, and new covers settle after a few drives. Wait 24 to 48 hours, then check the front chucks, rear flap, and under-cushion straps. It takes about five minutes. This is also when you catch a strap that's too close to a seat rail before it frays.
There are cases where you should stop rather than keep adjusting. If the airbag light turns on after installation, remove the cover and have the vehicle checked. If a power seat stops moving smoothly, look under the seat before pressing the switch again. If the cover blocks a seat belt buckle, child-seat anchor, recline lever, or headrest lock, the fit isn't acceptable for that seat.
For the cleanest result, work in this order every time: top alignment, backrest tuck, chuck placement, cushion straps, hooks, final tension, then seat movement check. It isn't fancy. It works.
FAQ
What are seat cover chucks?
Seat cover chucks are plastic tuck anchors that push into the gap between the backrest and seat cushion. They hold the center panel in place so the cover doesn't slide forward when you sit, brake, or climb out of the vehicle.
Where do seat hooks attach?
Seat hooks attach to fixed metal seat-frame points, such as frame holes, crossbars, or stable brackets under the cushion. Don't hook them to wires, yellow airbag connectors, seat rails, motors, plastic trim, or seat belt buckle cables.
Why do covers loosen?
Seat covers loosen when chucks aren't seated, straps are crossed wrong, hooks grab moving parts, or elastic is overtightened during the first install. New covers also settle after 24 to 48 hours, so a light retighten usually improves the fit.
Can clips replace missing hooks?
Clips can replace light-duty edge fasteners, but they shouldn't replace high-tension hooks under the cushion. Use a matching upholstery hook or replacement hardware for anchor points that carry real pull, especially on truck and SUV front seats.
Are covers safe with airbags?
Seat covers can be safe with seat-mounted airbags only when the cover is designed for that seat type and installed without blocking the deployment area. Check the SRS labels, vehicle manual, and cover instructions before tightening side panels.
Coverado designs car seat covers for real home installation: sorted hardware, clear fit points, free shipping, 30-day free returns, and an 18-month warranty. Before your next install, lay out every hook, chuck, strap, and clip on the garage floor, match each one to its job, and give yourself one quiet pass under the seat before pulling anything tight.